Welcome back, fellow carb enthusiasts! If you’ve been following my kitchen adventures for more than five minutes, you already know that I have a complicated, deeply emotional relationship with wild yeast. For the longest time, the mere thought of baking a classic loaf of sourdough felt less like a fun weekend hobby and more like an advanced chemistry final exam.
Well, wipe away those flour-dusted tears of intimidation, because the day has finally arrived: I wrote the sourdough tutorial.
No more mystery, no more midnight panic over sticky counter-dough. We are breaking down the exact, foolproof process that turned my kitchen into a cozy artisan bakery—complete with all the messy details, tips, and tricks you need to succeed. Grab your coffee, tie on your apron, and let’s bake some bread!
The Ingredients: Less Is More
You don’t need a pantry full of specialty gadgets to make magic happen. Here is the exact blueprint we are working with:
- 110g Ripe Starter: Pro-tip: Feed your bubbly little pet the night before (aim for a 1:4:4 ratio at around 75°F). Give it 10–12 hours to reach its glorious, dome-topped peak before you even think about mixing.
- 350g Warm Water: Think cozy bathwater, not hot tub! We want to wake the yeast up gently.
- 500g Bread Flour: High protein content is your best friend here for that gorgeous structure.
- 10g Salt: Never skip the salt—it builds strength and balances out the tang.
Step-by-Step: The Journey to Crust Heaven
Phase 1: The Mix & The Muscle (Stretch & Folds)
- The Swim: In a large glass or ceramic bowl, whisk your warm water and ripe sourdough starter together until it looks like milky water.
- The Shag: Dump in your bread flour and salt. Mix it around with your hands or a dough scraper until a wildly untamed, shaggy dough forms. Cover it up and let it rest for 1 hour.
- The Stretch & Fold Symphony: This is where the real gluten magic happens. Perform 4 rounds of stretch-and-folds, resting 30 minutes between each one:
- Round 1: With wet hands (so nothing sticks!), grab the edge of the dough, pull it up, and fold it into the center. Rotate the bowl and do this 6–8 times. Cover and rest for 30 minutes.
- Rounds 2, 3, & 4: Repeat the process until the dough resists stretching because it’s getting nice and strong.
💡 Technique Tip: Keep a small bowl of water nearby to dip your fingers in. Wet hands = zero sticky dough mess on your knuckles!
Phase 2: Bulk Fermentation (The Waiting Game)
Cover your bowl and let it sit for 6–10 hours for the bulk ferment.
- The Visual Cue: Don’t just watch the clock—watch the dough! You are looking for it to roughly double in size,and it should gently peel away from the sides of the bowl when you tilt it. If it’s not quite there yet, give it a little more time. Patience is the secret ingredient!
Phase 3: Shaping & Cold Retard (The Beauty Sleep)
- The Flip & Fold: Gently coax the proofed dough onto a lightly floured work surface. Stretch it into a long rectangle, perform a book-fold (like folding a letter), and seal the seam. Roll it into a tight log, then use a candy-cane motion with your hands to pull and push it into a tight, smooth round.
- The Tension Trick: Dust it generously with rice flour (which prevents sticking like absolute magic) and drop it into your banneton mold.
- The Final Tuck: Gently pull the outer edges of the round into the center of the bottom of the dough just a tiny bit to build surface tension. This is your secret weapon for a massive oven spring.
- Bedtime: Cover it up and pop it into the fridge overnight (8–10 hours). The cold slow-down develops that incredible, complex sourdough tang.
Phase 4: The Grand Finale (The Bake)
- Preheat Like Mean: Crank your oven to 450°F and shove your Dutch oven right inside so it gets blistering hot.
- The Canvas: Flip your chilled dough out onto a piece of parchment paper or a Silpat. Take a lame knife and score the top—try a sweeping slash at a 30-degree angle to give the loaf a place to bloom.
- Steam & Bake: Carefully lower the dough into your scorching hot Dutch oven, slap the lid on, and bake at 450°F for 25 minutes with the lid on. (The trapped steam creates that crackly, shiny crust!)
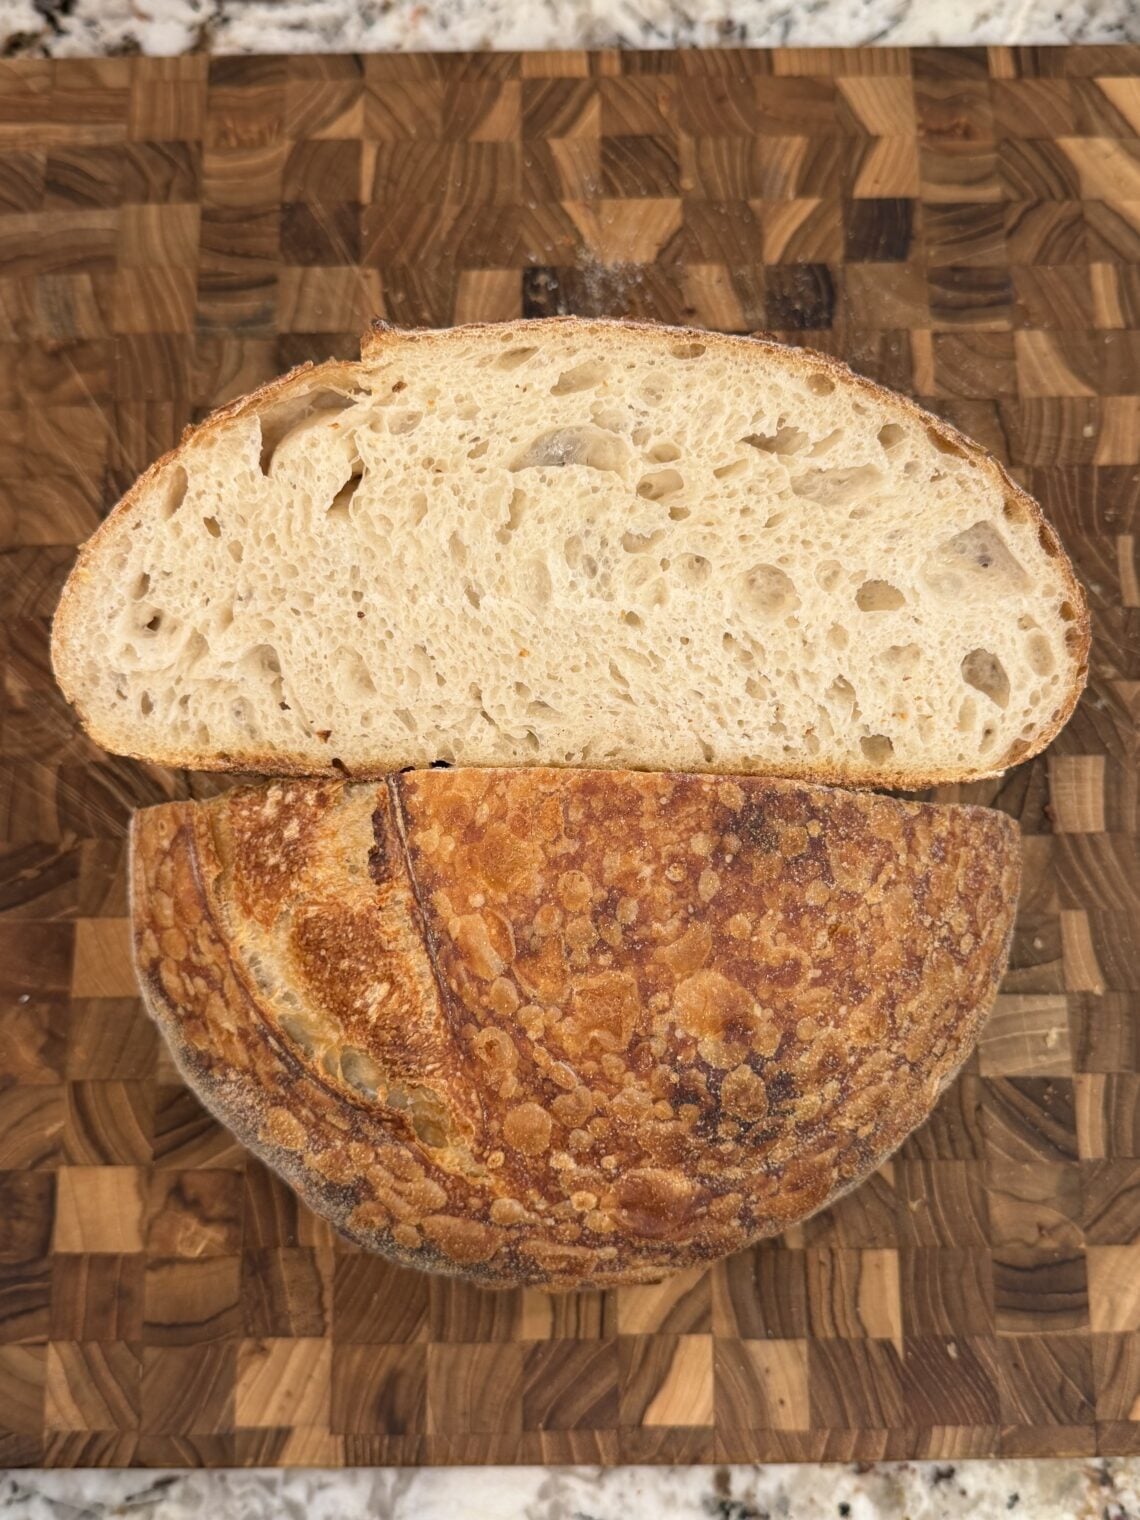
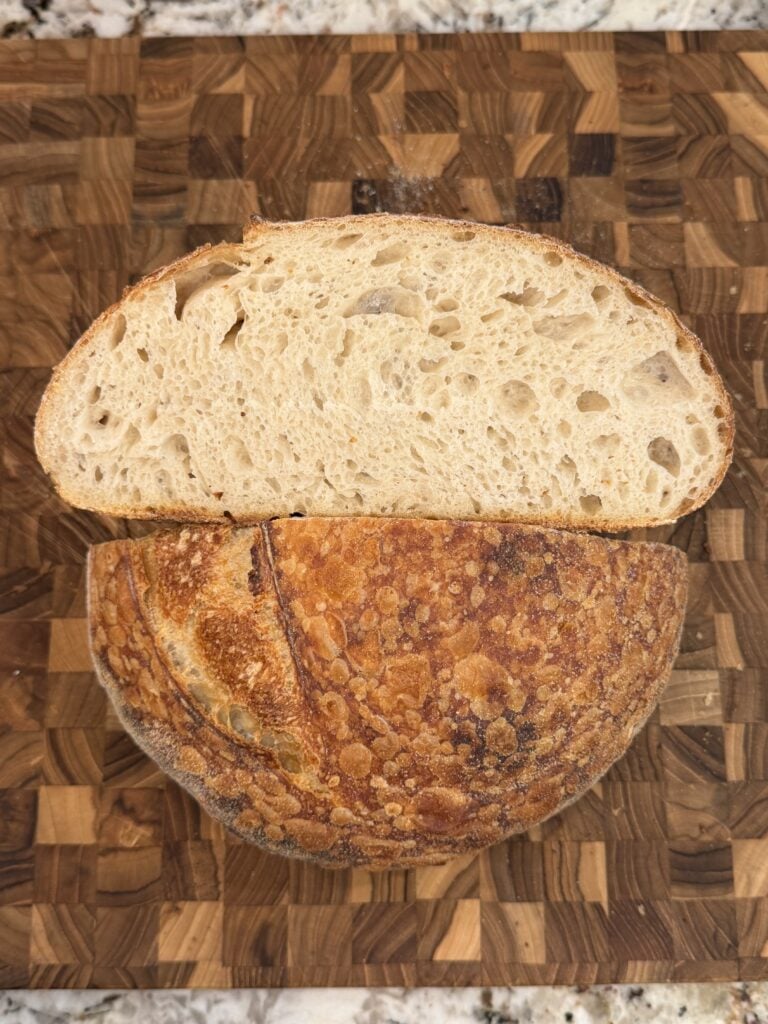
- The Golden Hour: Remove the lid, drop the temp to 425°F, and bake for another 15–25 minutes until the crust is a gorgeous mahogany brown and the internal temperature hits above 190°F.
The Hardest Rule: Hands Off!
As soon as that masterpiece comes out of the oven, your kitchen is going to smell like heaven. Do not cut it immediately.
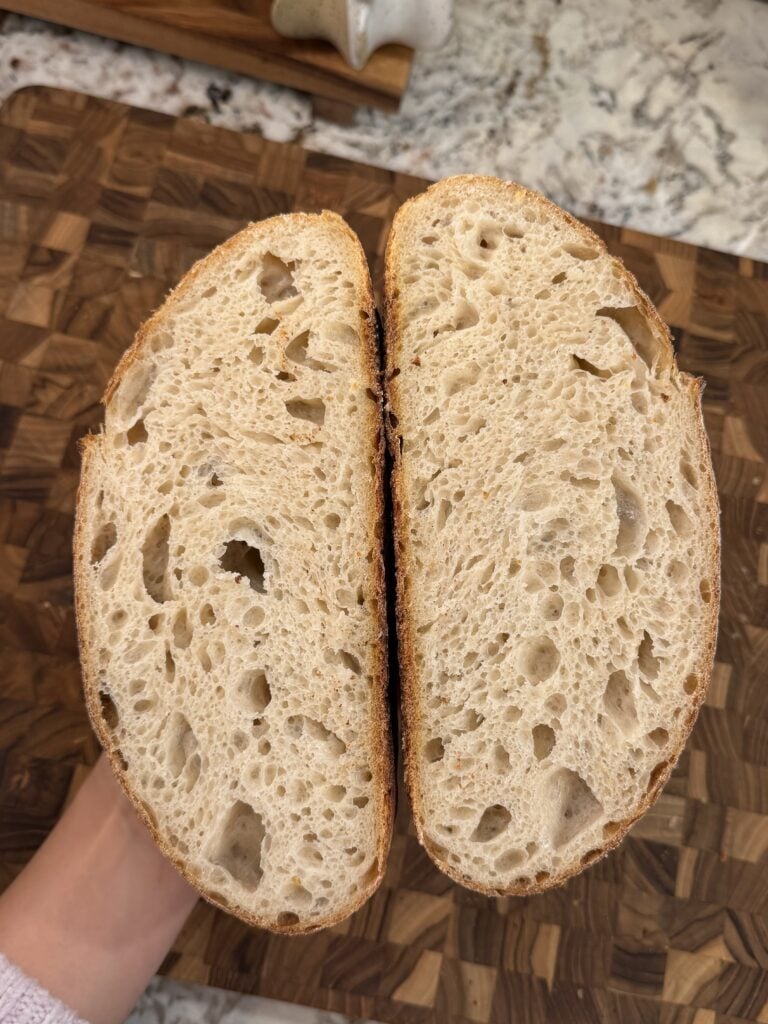
Transfer your loaf to a wire rack and let it cool completely (at least 2 hours, if you have the willpower). Sourdough actually finishes cooking on the inside as it cools down; cutting it too early can leave you with a gummy, wet crumb.
Slice it open, slather it in salted butter or avocado, and marvel at the fact that you just made artisan sourdough bread from scratch.
Basic Sourdough Bread Recipe
Created by Sue Mun
Makes One Sourdough Loaf
Ingredients:
Levain:
- 15g unfed sourdough starter
- 50g bread flour
- 10g whole wheat flour
- 60g water
For the Sourdough:
- 110g ripe levain from above
- 350g warm water
- 500g bread flour
- 10g salt
Instructions:
Night Before–Make the Levain:
- At around 9 or 10 PM at night, mix the levain for the next day. In a medium jar, mix together the unfed sourdough start, bread flour, whole wheat flour, and the water. Mix until smooth and cover with the lid loosely, and leave the jar on your counter.
Make the Sourdough:
- 9 or 10 AM: Inspect the sourdough starter jar (the levain) and make sure that it has doubled in size and the sides have lots of bubbles all around and the top of the starter is bubbly and somewhat flat. If it is domed at the top, allow it to rise longer and check again in 1 hour.
- In a large glass or ceramic bowl, mix together the warm water and the ripe sourdough starter (the levain).
- Add in the bread flour and salt and mix until a shaggy dough forms.
- Cover and rest for 1 hour.
- Stretch and fold #1. Using wet hands, stretch the dough into itself about 6-8 times or until gluten develops. Cover and rest for 30 minutes.
- Stretch and fold #2. Using wet hands, stretch and fold the dough into itself until it can not stretch anymore. Cover and rest for 30 minutes.
- Stretch and fold #3. Repeat the steps from above. Cover and rest for 30 minutes.
- Stretch and fold #4. Repeat the steps from above.
- Cover and bulk ferment for 6-10 hours. Or until the dough has doubled in size and the dough peels away the sides of the bowl easily. If not, continue to proof longer.
Shape the Dough:
- Flip the proofed dough over your lightly floured work surface and gently stretch to a long rectangle. Then perform a book fold and seal at the seam. Then roll the log up tightly into a ball. Then gently push/pull dough into a tight round in a candy cane motion.
- Dust with rice flour and place into banneton bread mold.
- Gently pull the edges of the round into the center of the dough. Just so it adds tension to the dough and helps improve oven spring when it bakes.
- Cover and proof in the fridge overnight (8-10 hours)
The Bake:
- Preheat oven to 450F and place dutch oven in the oven to also preheat.
- Flip onto silpat or parchment and gently score the top of the dough using a lame knife.
- Carefully place the sourdough into your hot Dutch oven. Cover with the lid.
- Bake at 450F for 25 minutes with the lid covered.
- Lower the oven to 425F. Uncover the lid and bake again for 15-25 more minutes. Or until the internal temp is above 190F.
- Cool completely on a wire rack before cutting and serving.